Setting up an NVR camera system for the first time can feel intimidating. Cables, cameras, routers, hard drives—it’s a lot. But the truth is, once you understand the flow, the process is surprisingly logical.
This guide is written in a human, practical tone, not a tech manual. Whether you’re protecting your home, shop, office, or warehouse, this article will walk you through how to set up an NVR camera system step by step, using clear language and real‑world tips.
We’ll avoid unnecessary jargon, explain why each step matters, and help you build a system that’s reliable, secure, and future‑proof.
What Is an NVR Camera System? (Quick Explanation)
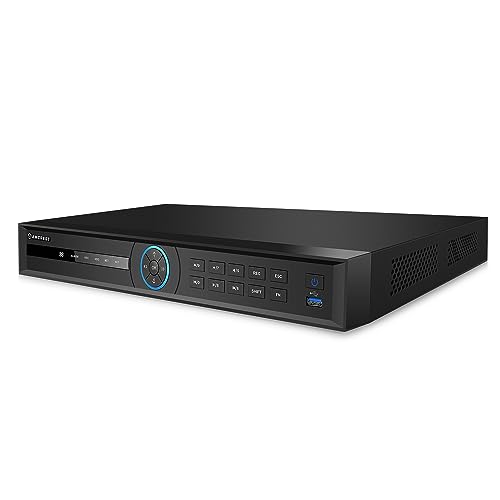
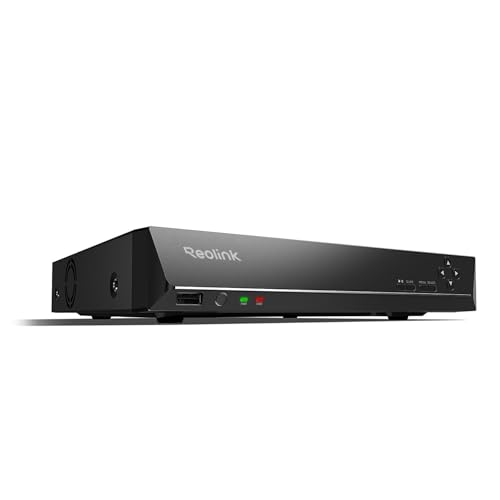
An NVR (Network Video Recorder) camera system records video from IP cameras over a network. Unlike DVR systems that use analog cameras, NVR systems are fully digital and offer:
- Higher video quality (1080p, 2K, 4K)
- Better remote viewing options
- Easier scalability
- Cleaner wiring using Ethernet (PoE)
In simple terms: IP cameras send video data to the NVR through your network, and the NVR stores and manages everything.
Learn : Top 8 Best NVR Camera System for Home
What You Need Before Setting Up an NVR Camera System
Before you start installation, make sure you have the right equipment. Skipping this step is one of the most common mistakes beginners make.
Essential Components
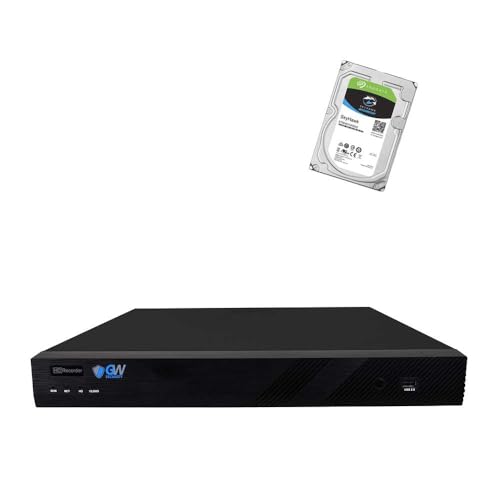
- NVR unit (with or without PoE)
- IP security cameras (PoE‑compatible is recommended)
- Ethernet cables (Cat5e or Cat6)
- Hard drive (surveillance‑grade HDD)
- Monitor or TV (HDMI or VGA)
- Mouse (usually included with the NVR)
- Router / internet connection
Optional but Helpful
- UPS (uninterruptible power supply)
- Weatherproof junction boxes
- Cable clips or conduit
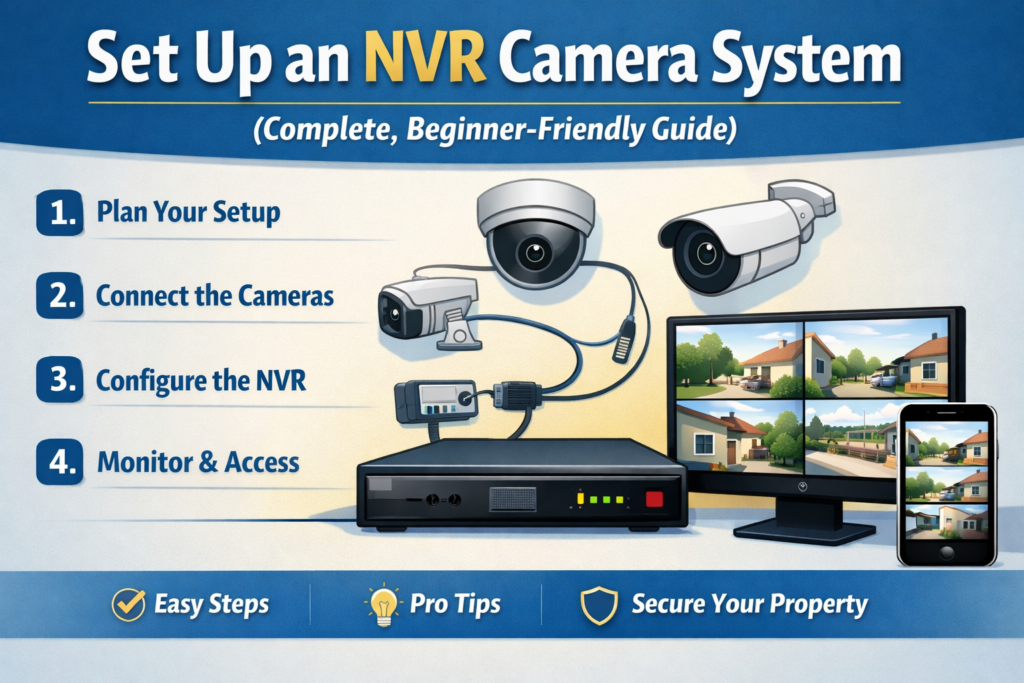
Step‑by‑Step: How to Set Up an NVR Camera System
Let’s break the process into clear, manageable steps.
Step 1: Plan Camera Placement (Don’t Skip This)
Good planning saves hours of frustration later.
Best Places to Install IP Cameras
- Entry and exit points
- Driveways and parking areas
- Hallways and main corridors
- Backyards or blind spots
Pro Tips
- Mount cameras 8–10 feet high to prevent tampering
- Avoid direct sunlight or reflective surfaces
- Check the camera’s field of view before drilling
A quick walk around your property with the cameras in hand can prevent costly rework.
Step 2: Install the Hard Drive in the NVR
Most NVRs don’t come with a hard drive pre‑installed.
How to Install the HDD
- Power off the NVR
- Open the top cover
- Connect SATA and power cables to the hard drive
- Secure the HDD with screws
- Close the cover
Important: Always use a surveillance‑rated hard drive, designed for 24/7 recording.
Step 3: Connect Cameras to the NVR (PoE Method)
If your NVR has built‑in PoE ports, this is the easiest setup.
PoE Connection Steps
- Plug one end of the Ethernet cable into the camera
- Plug the other end into a PoE port on the NVR
That’s it. The NVR provides both power and data through one cable.
If your NVR doesn’t support PoE, you’ll need a PoE switch between the cameras and the network.
Step 4: Connect the NVR to a Monitor and Router
Now it’s time to bring everything together.
- Connect the NVR to a monitor or TV using HDMI
- Connect the NVR to your router using an Ethernet cable
- Plug in the power adapter
Once powered on, you should see the NVR startup screen.
Step 5: Initial NVR Setup and Configuration
This is where your system becomes functional.
Basic Setup Includes
- Selecting language and time zone
- Setting date and time
- Creating an admin password
Security Tip
Use a strong password and store it safely. Weak passwords are a major security risk.
Step 6: Add and Configure IP Cameras
Most modern NVRs automatically detect connected cameras.
What to Check
- Camera live view appears
- Camera names are correct
- Resolution and frame rate
Rename cameras based on location (e.g., Front Door, Backyard)—this helps later during playback.
Step 7: Set Recording Mode (Continuous or Motion)
This step determines how your NVR records video.
Common Recording Options
- Continuous recording (24/7)
- Motion‑based recording
- Scheduled recording
For most users, motion detection recording offers the best balance between storage and coverage.
Step 8: Enable Motion Detection and Alerts
Motion detection turns your NVR camera system into a smart security solution.
Configure Motion Settings
- Adjust sensitivity levels
- Set detection zones
- Enable push notifications or email alerts
Fine‑tuning this prevents false alerts from pets, shadows, or moving trees.
Step 9: Set Up Remote Viewing on Your Phone
Remote access is one of the biggest advantages of an NVR system.
Typical Setup Process
- Install the manufacturer’s mobile app
- Scan the NVR QR code
- Log in using your NVR credentials
You can now view live feeds and recordings from anywhere.
Step 10: Test and Optimize the System
Before you consider the setup complete:
- Walk in front of each camera
- Test night vision
- Check motion alerts
- Verify recording playback
Small adjustments at this stage make a big difference long‑term.
Common NVR Camera System Problems (and Fixes)
Cameras Not Showing
- Check Ethernet cables
- Confirm PoE compatibility
- Restart the NVR
No Remote Access
- Check internet connection
- Confirm correct app and login
- Enable cloud or P2P settings
NVR vs DVR: Why NVR Is the Better Choice Today
| Feature | NVR | DVR |
|---|---|---|
| Camera Type | IP | Analog |
| Video Quality | High (HD–4K) | Limited |
| Cable Type | Ethernet | Coaxial |
| Scalability | Easy | Limited |
For modern security needs, NVR camera systems are more flexible and future‑ready.
Best Practices for Long‑Term Reliability
- Keep firmware updated
- Use surge protection
- Clean camera lenses every few months
- Backup important footage
These small habits extend the life of your system.
Trusted Industry References
The information in this guide aligns with setup recommendations and technical documentation from:
- Hikvision Installation Guides
- Dahua Technology NVR Manuals
- Axis Communications Network Camera Standards
- ONVIF IP Camera Specifications
Final Thoughts: Is Setting Up an NVR Camera System Worth It?
Absolutely. Once installed correctly, an NVR camera system provides peace of mind, control, and reliable security.
If you follow this guide step by step, you don’t need to be a technician. Just be patient, plan carefully, and test everything.
A well‑set‑up NVR system doesn’t just record video—it protects what matters most.